Working with a metal lathe
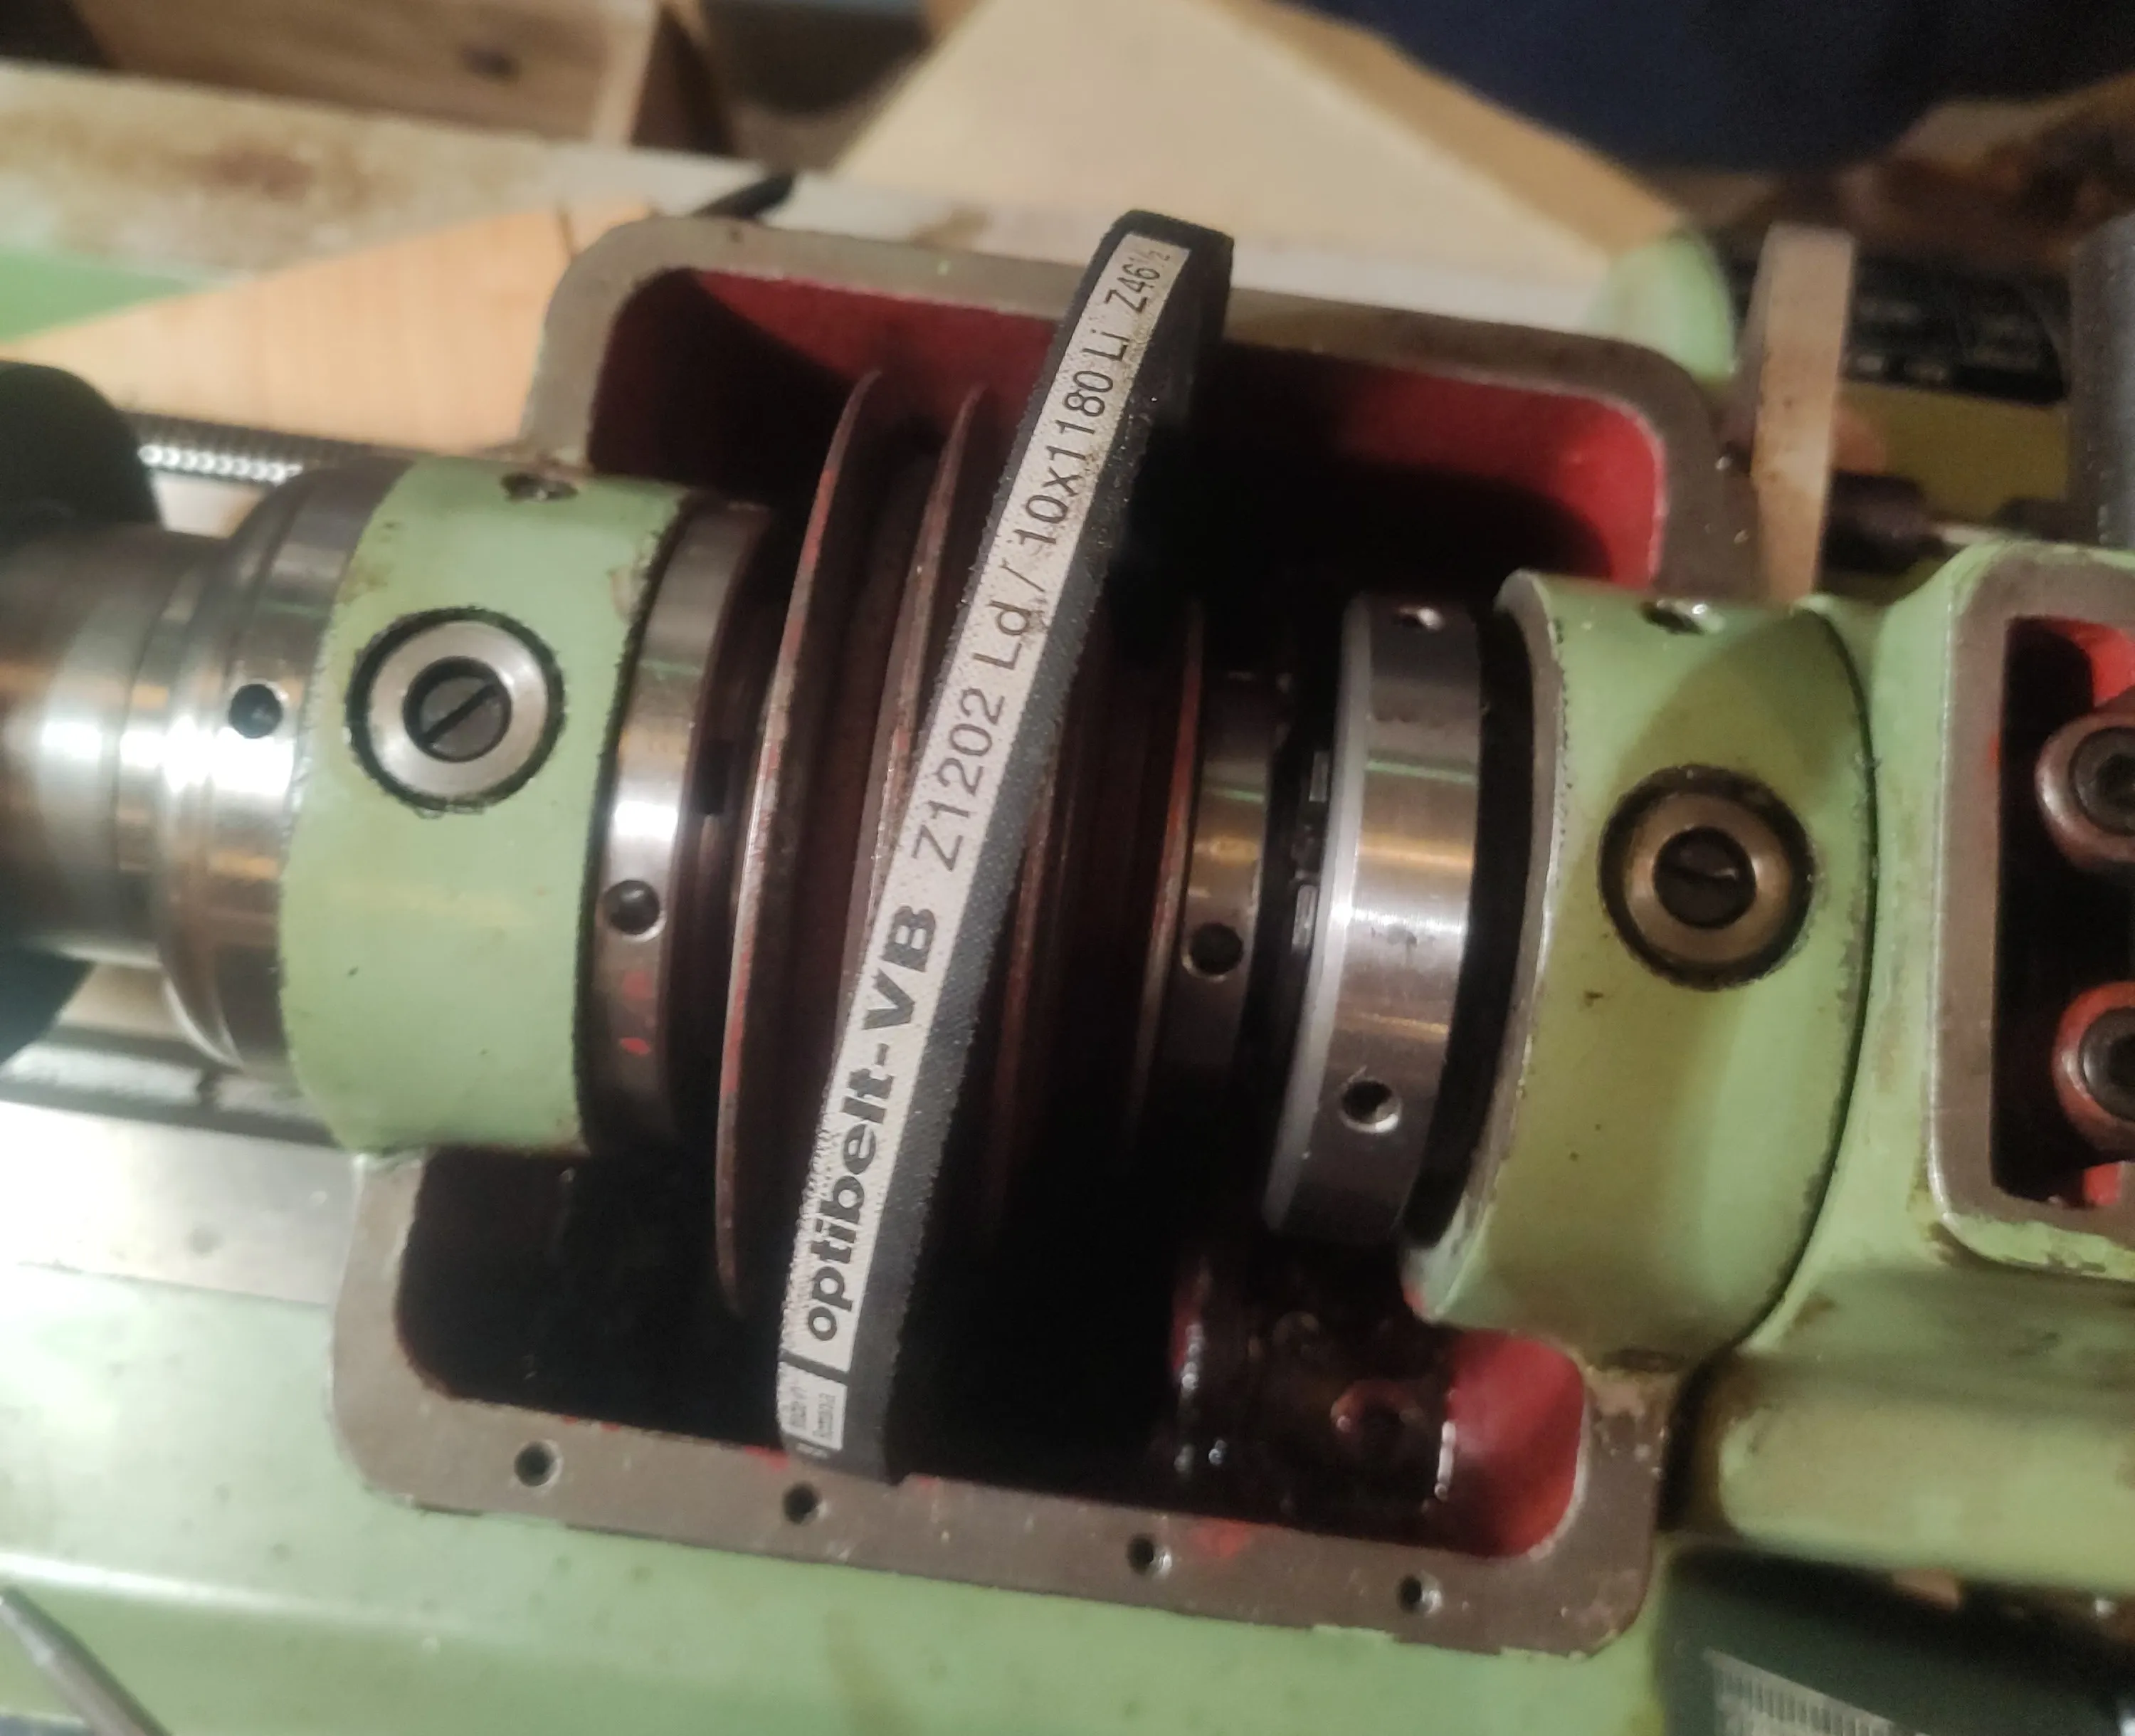
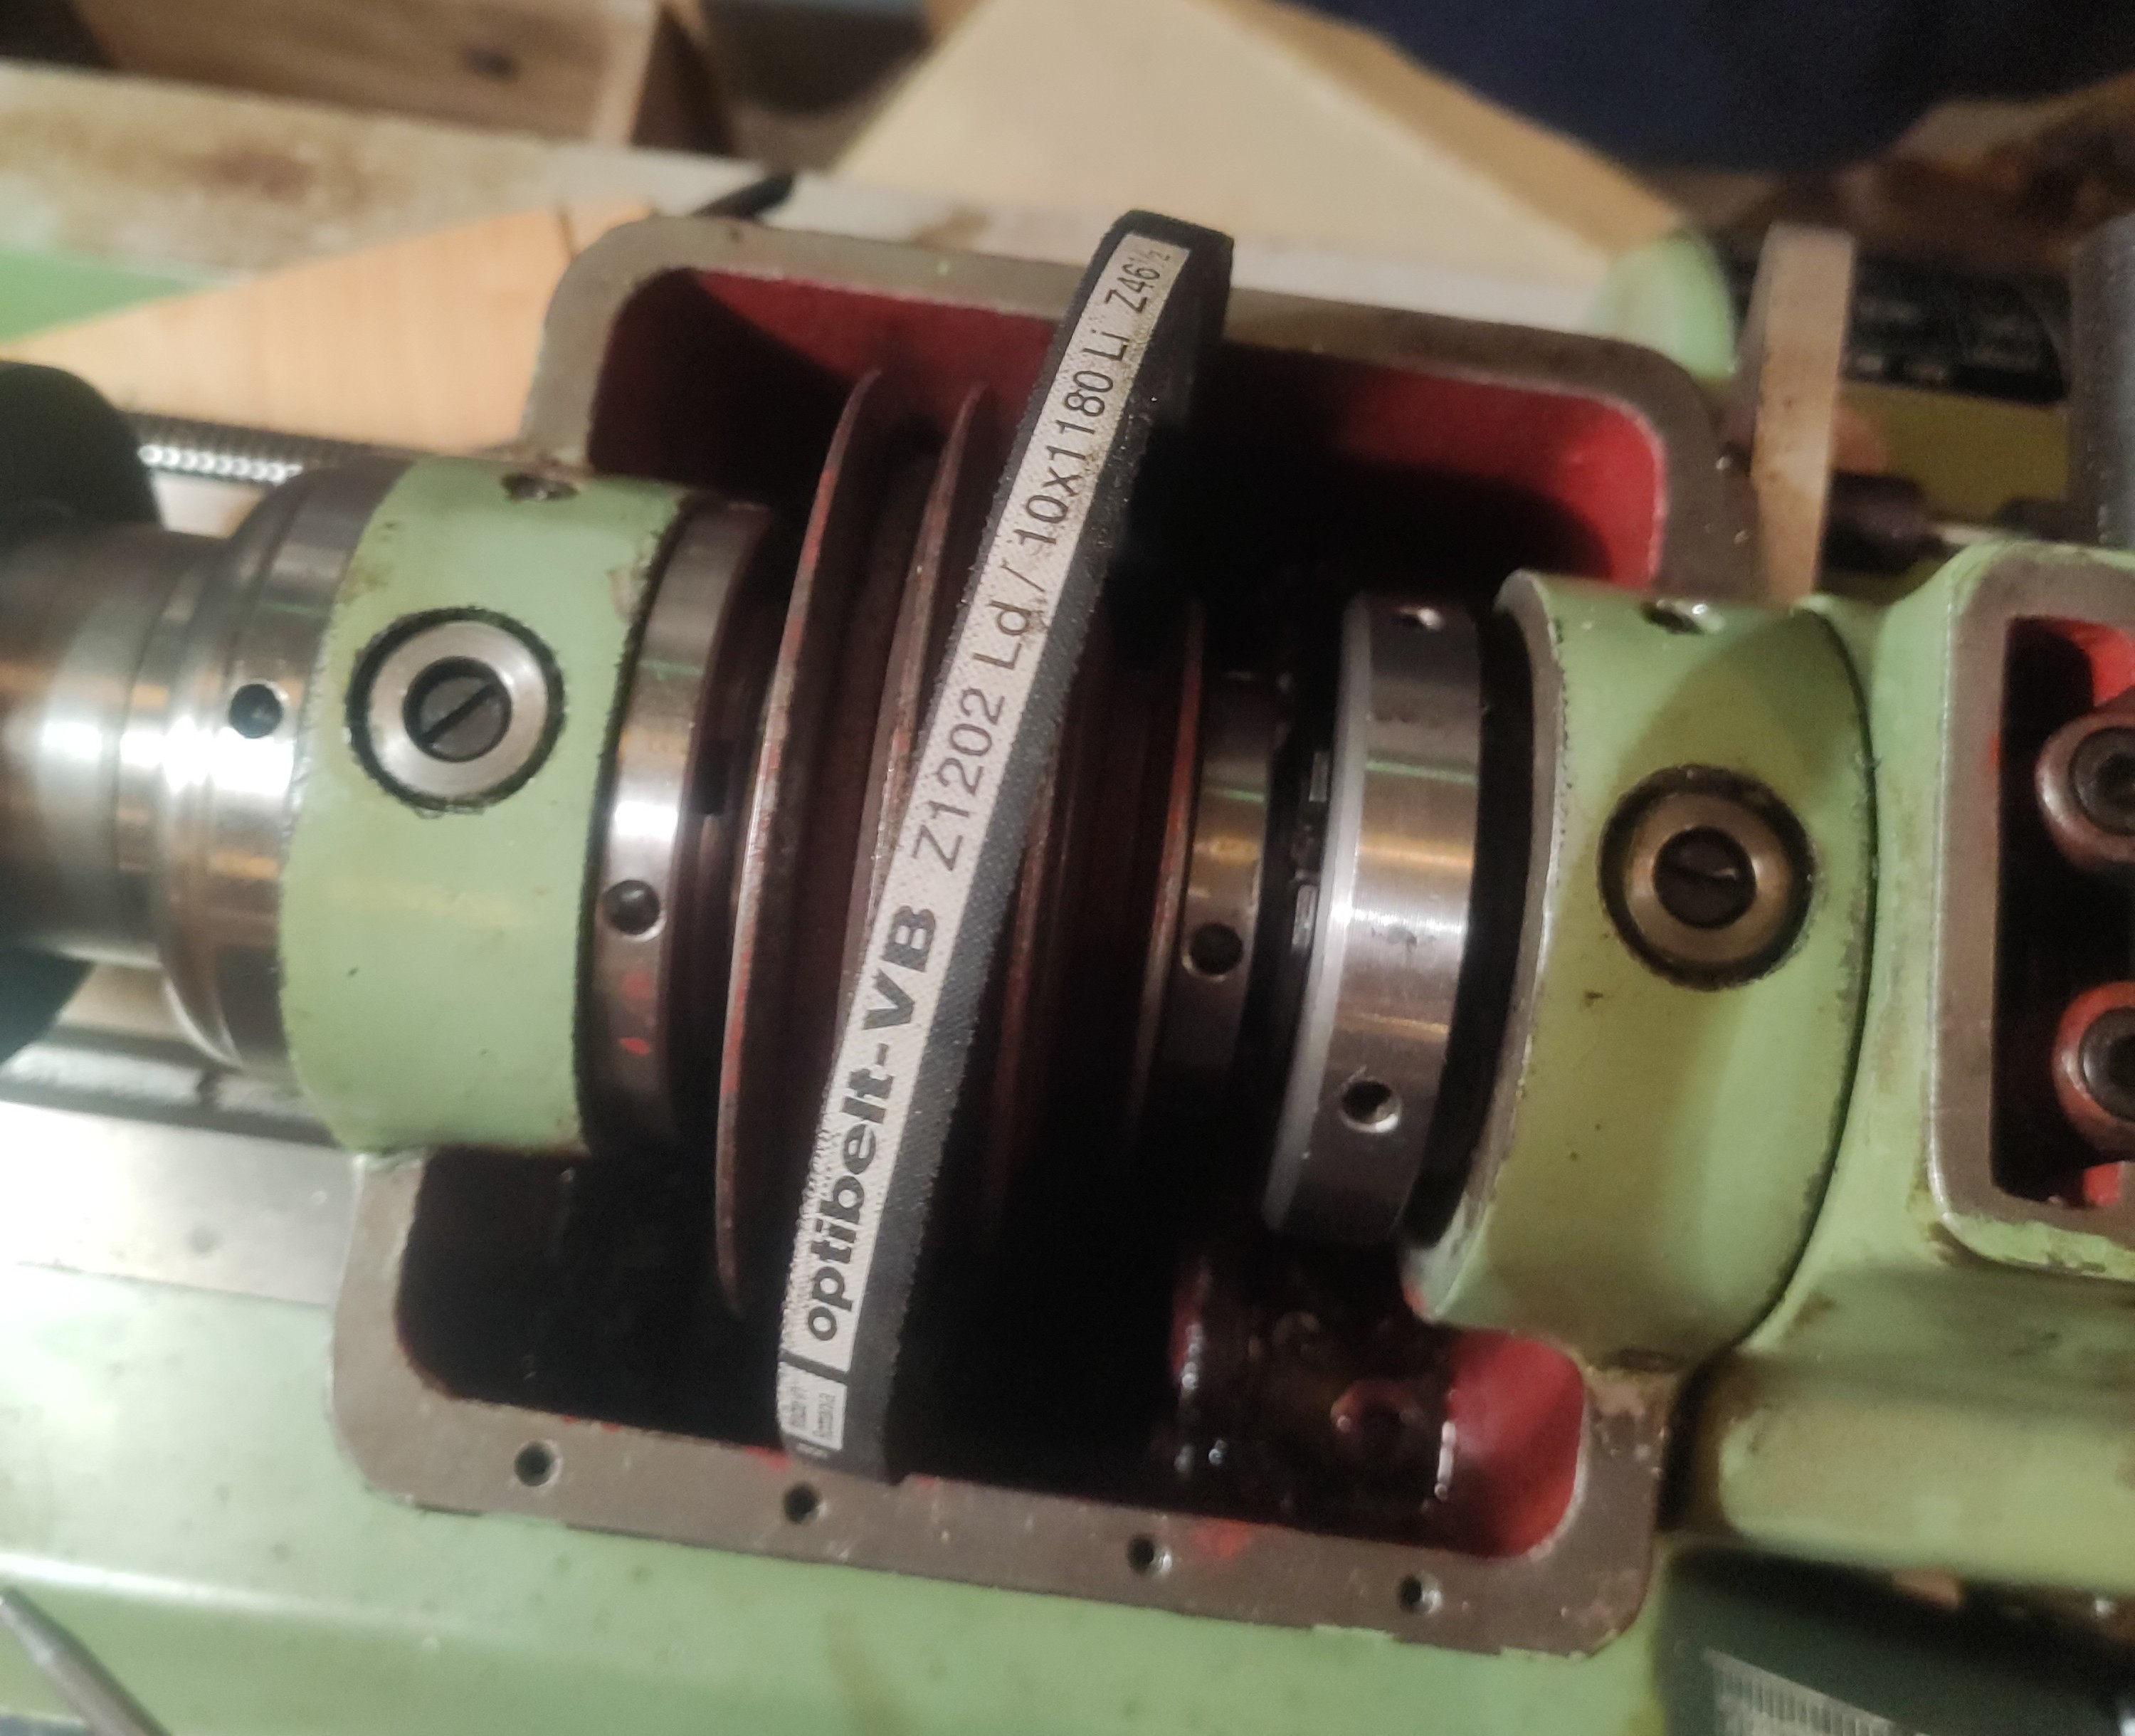
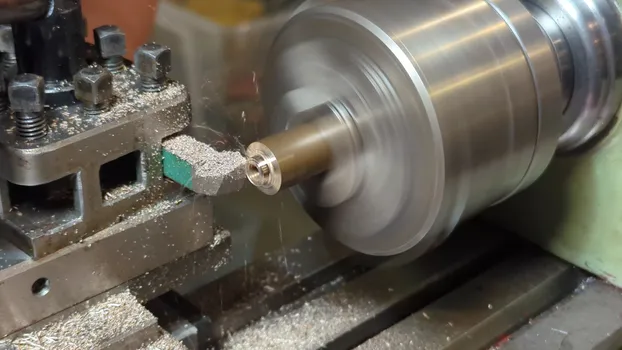
A while ago, my local hackerspace received a fairly large tool donation, which was a small manual desktop milling machine, and a small manual desktop lathe. Both machines needed a lot of love, I started with the lathe. The lathe is an old Czech machine from 1985, the MN-80 A from TOS Čelákovice. The machine still worked fine, but needed a replacement belt, and lacked any safety systems. Both needed attention before the machine could be used. Replacing the belt seems simple, but it requires the entire spindle assembly to be removed, so the belt can be mounted. This is a task that requires some attention because the spindle bearings need to be aligned almost perfectly to avoid quickly wearing them out. The manual (translated from German) describes the procedure in few words, and notes “Bearing clearance adjustment should only be performed by an experienced maintenance technician who can ensure precise and smooth machine operation through export setup”. We got the new belt installed, measured the alignment, which was within 0.01mm. The first success!
Safety improvements
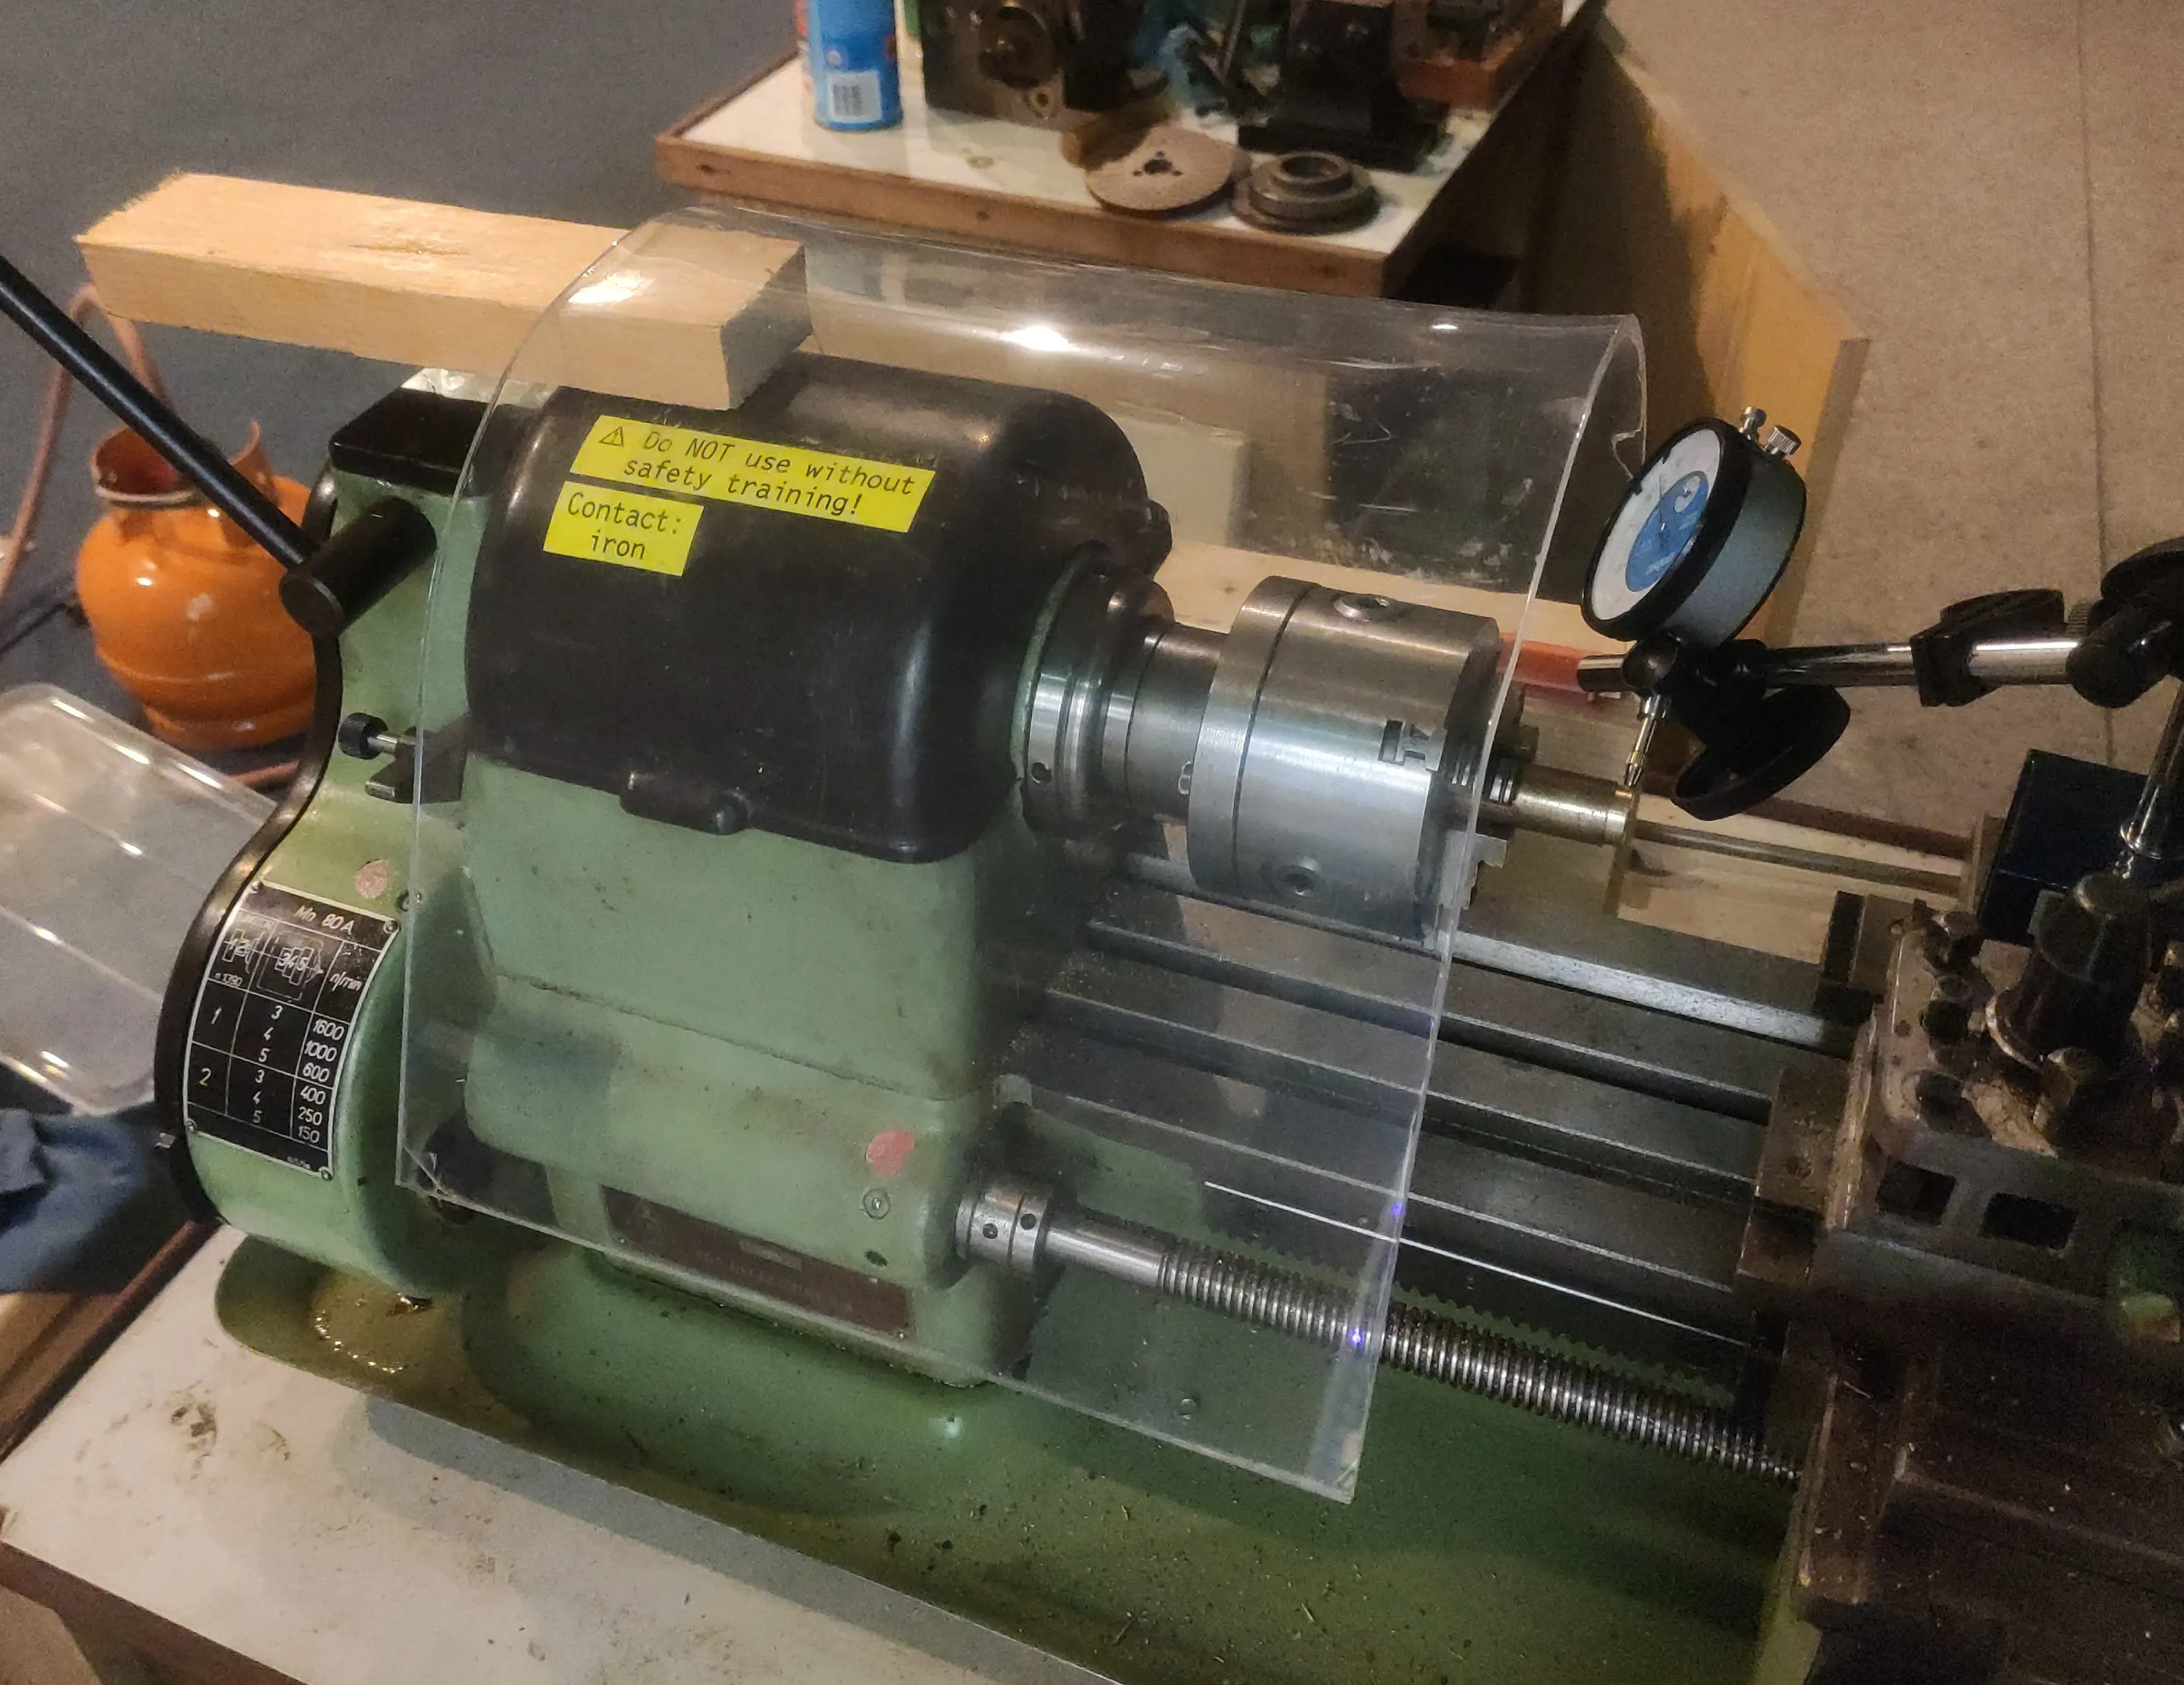
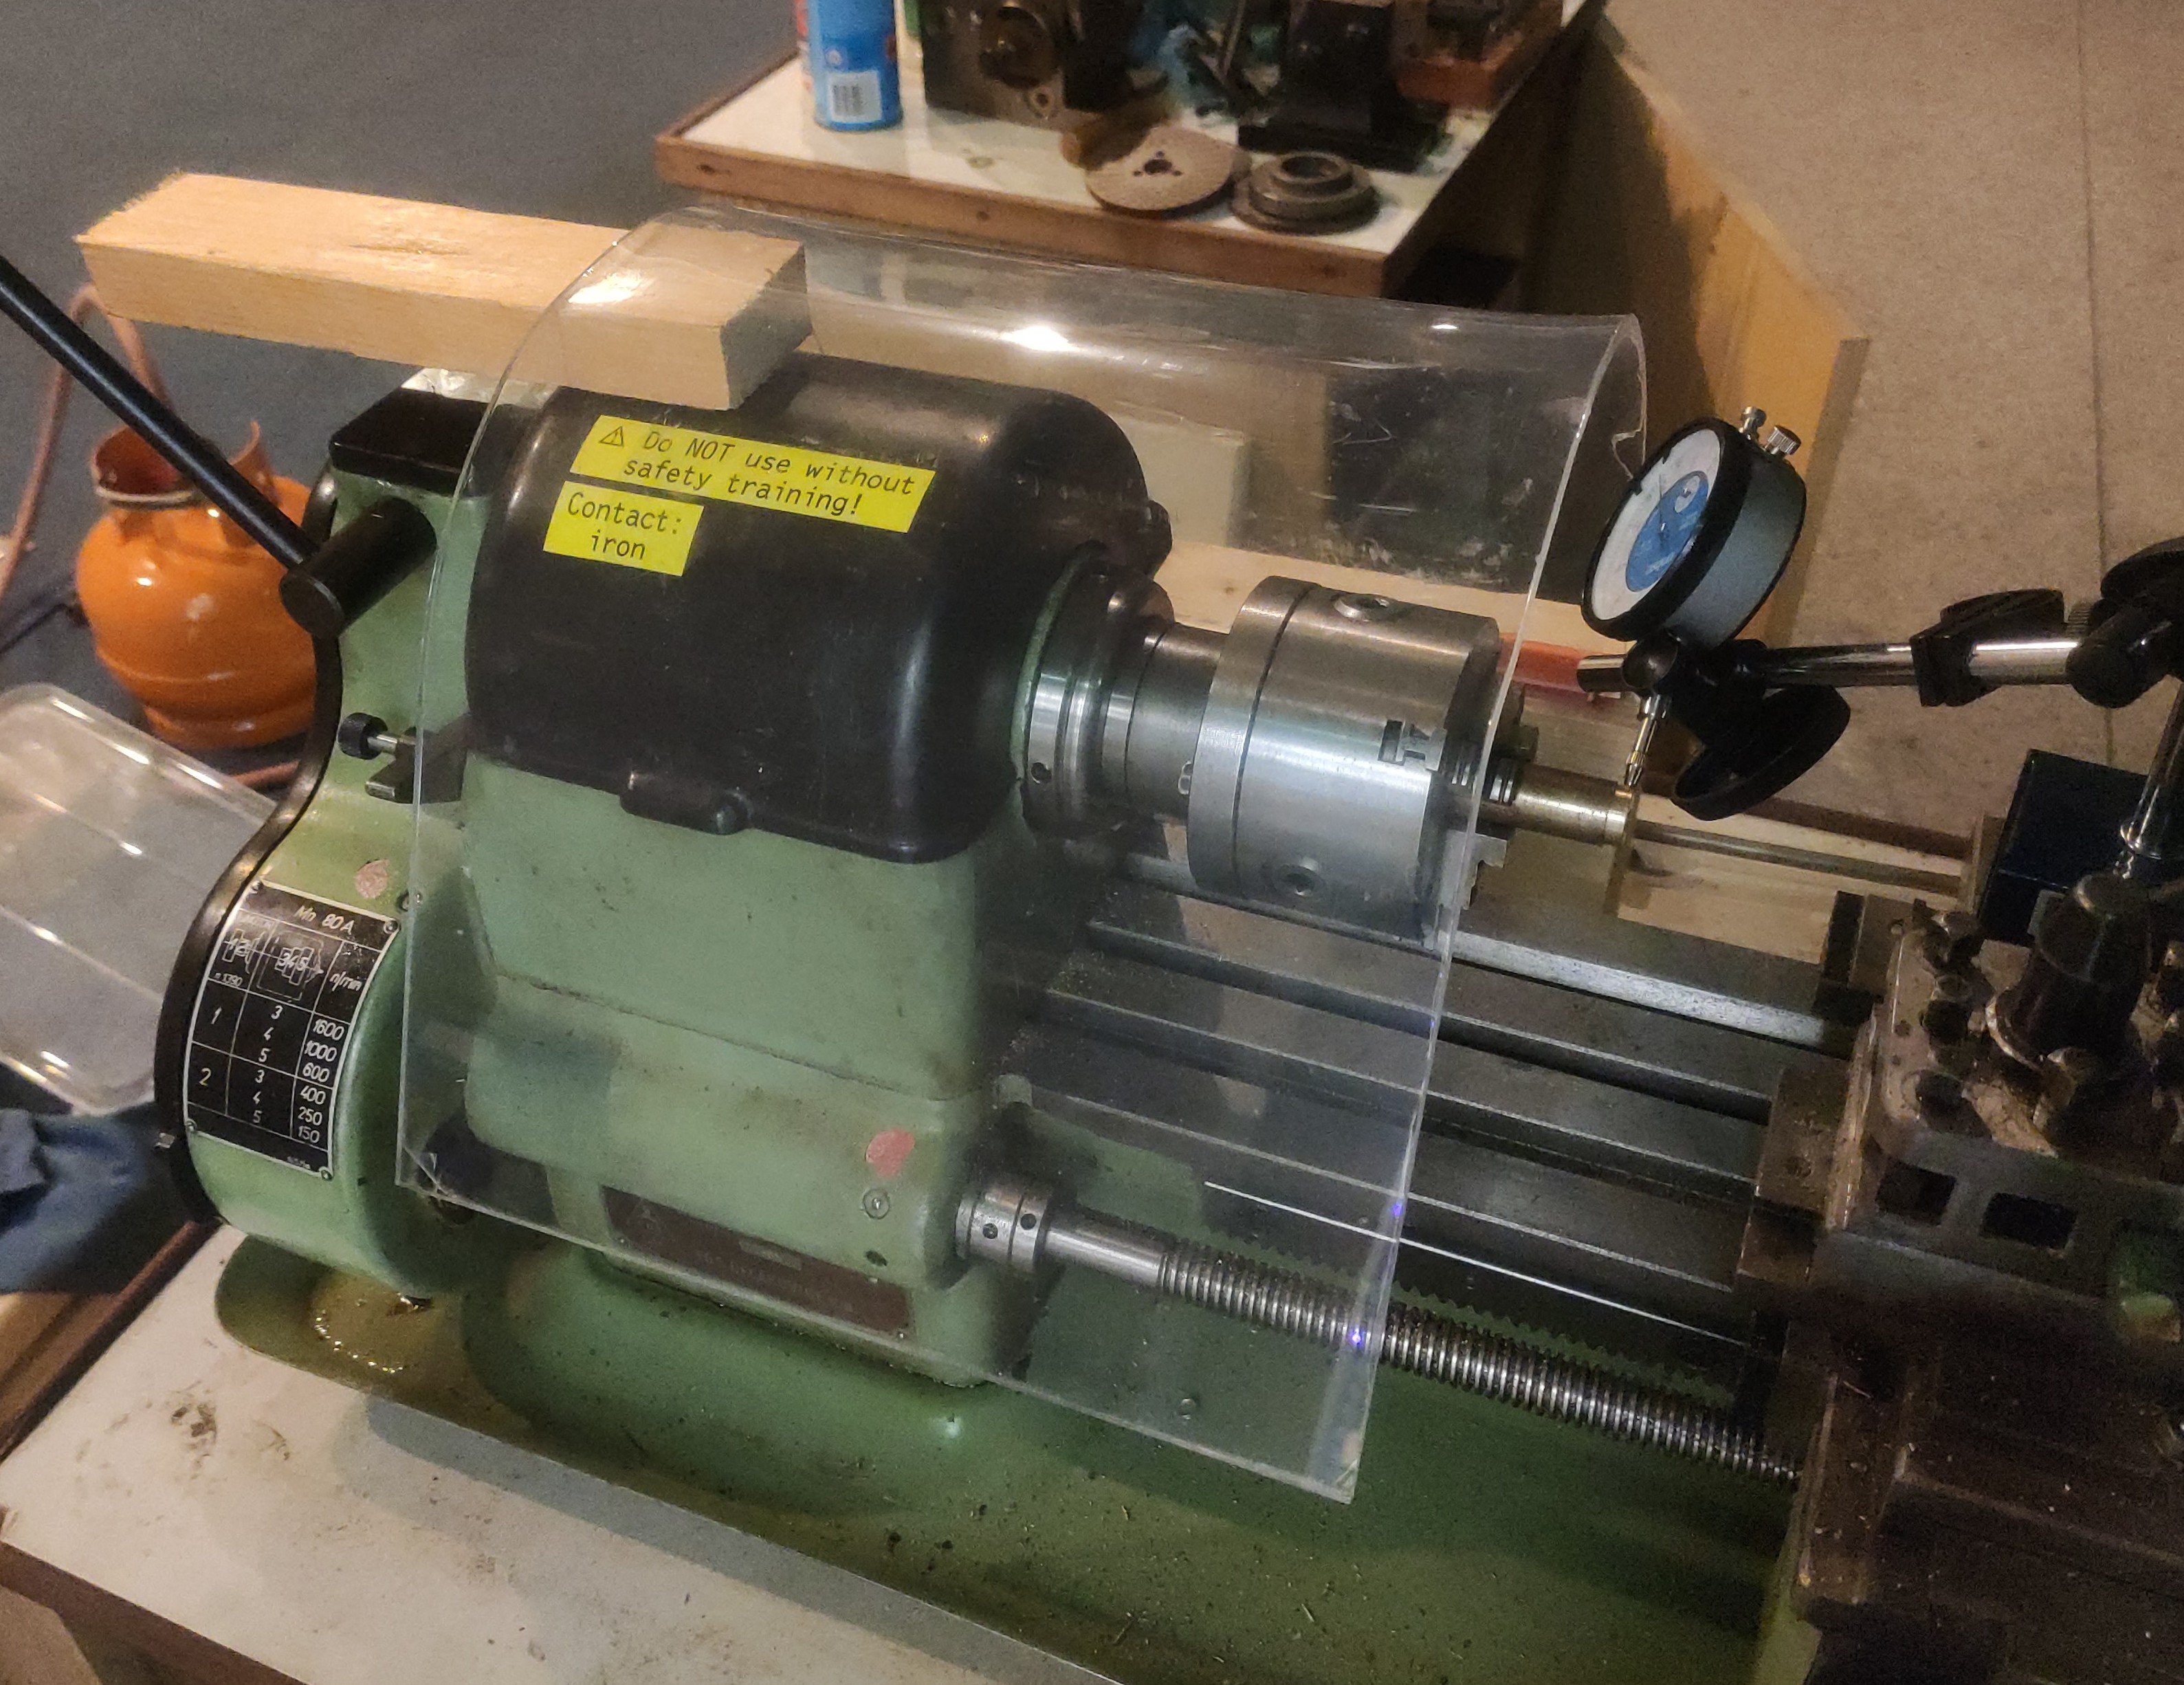
With the belt replaced, the machine has become usable. The machine still lacked a lot of basic safety requirements. There was no emergency stop, there was no screen to protect the operator and may something become a projectile, there was nothing to stop it. Because most users will be beginners and first-timers, these basic safety requirements are an absolute must for me. The easiest safety feature is a screen that stops projectiles. I got a plastic sheet, and used a hot air gun to bend it into shape. The screen (during installation) can be seen in the image below:
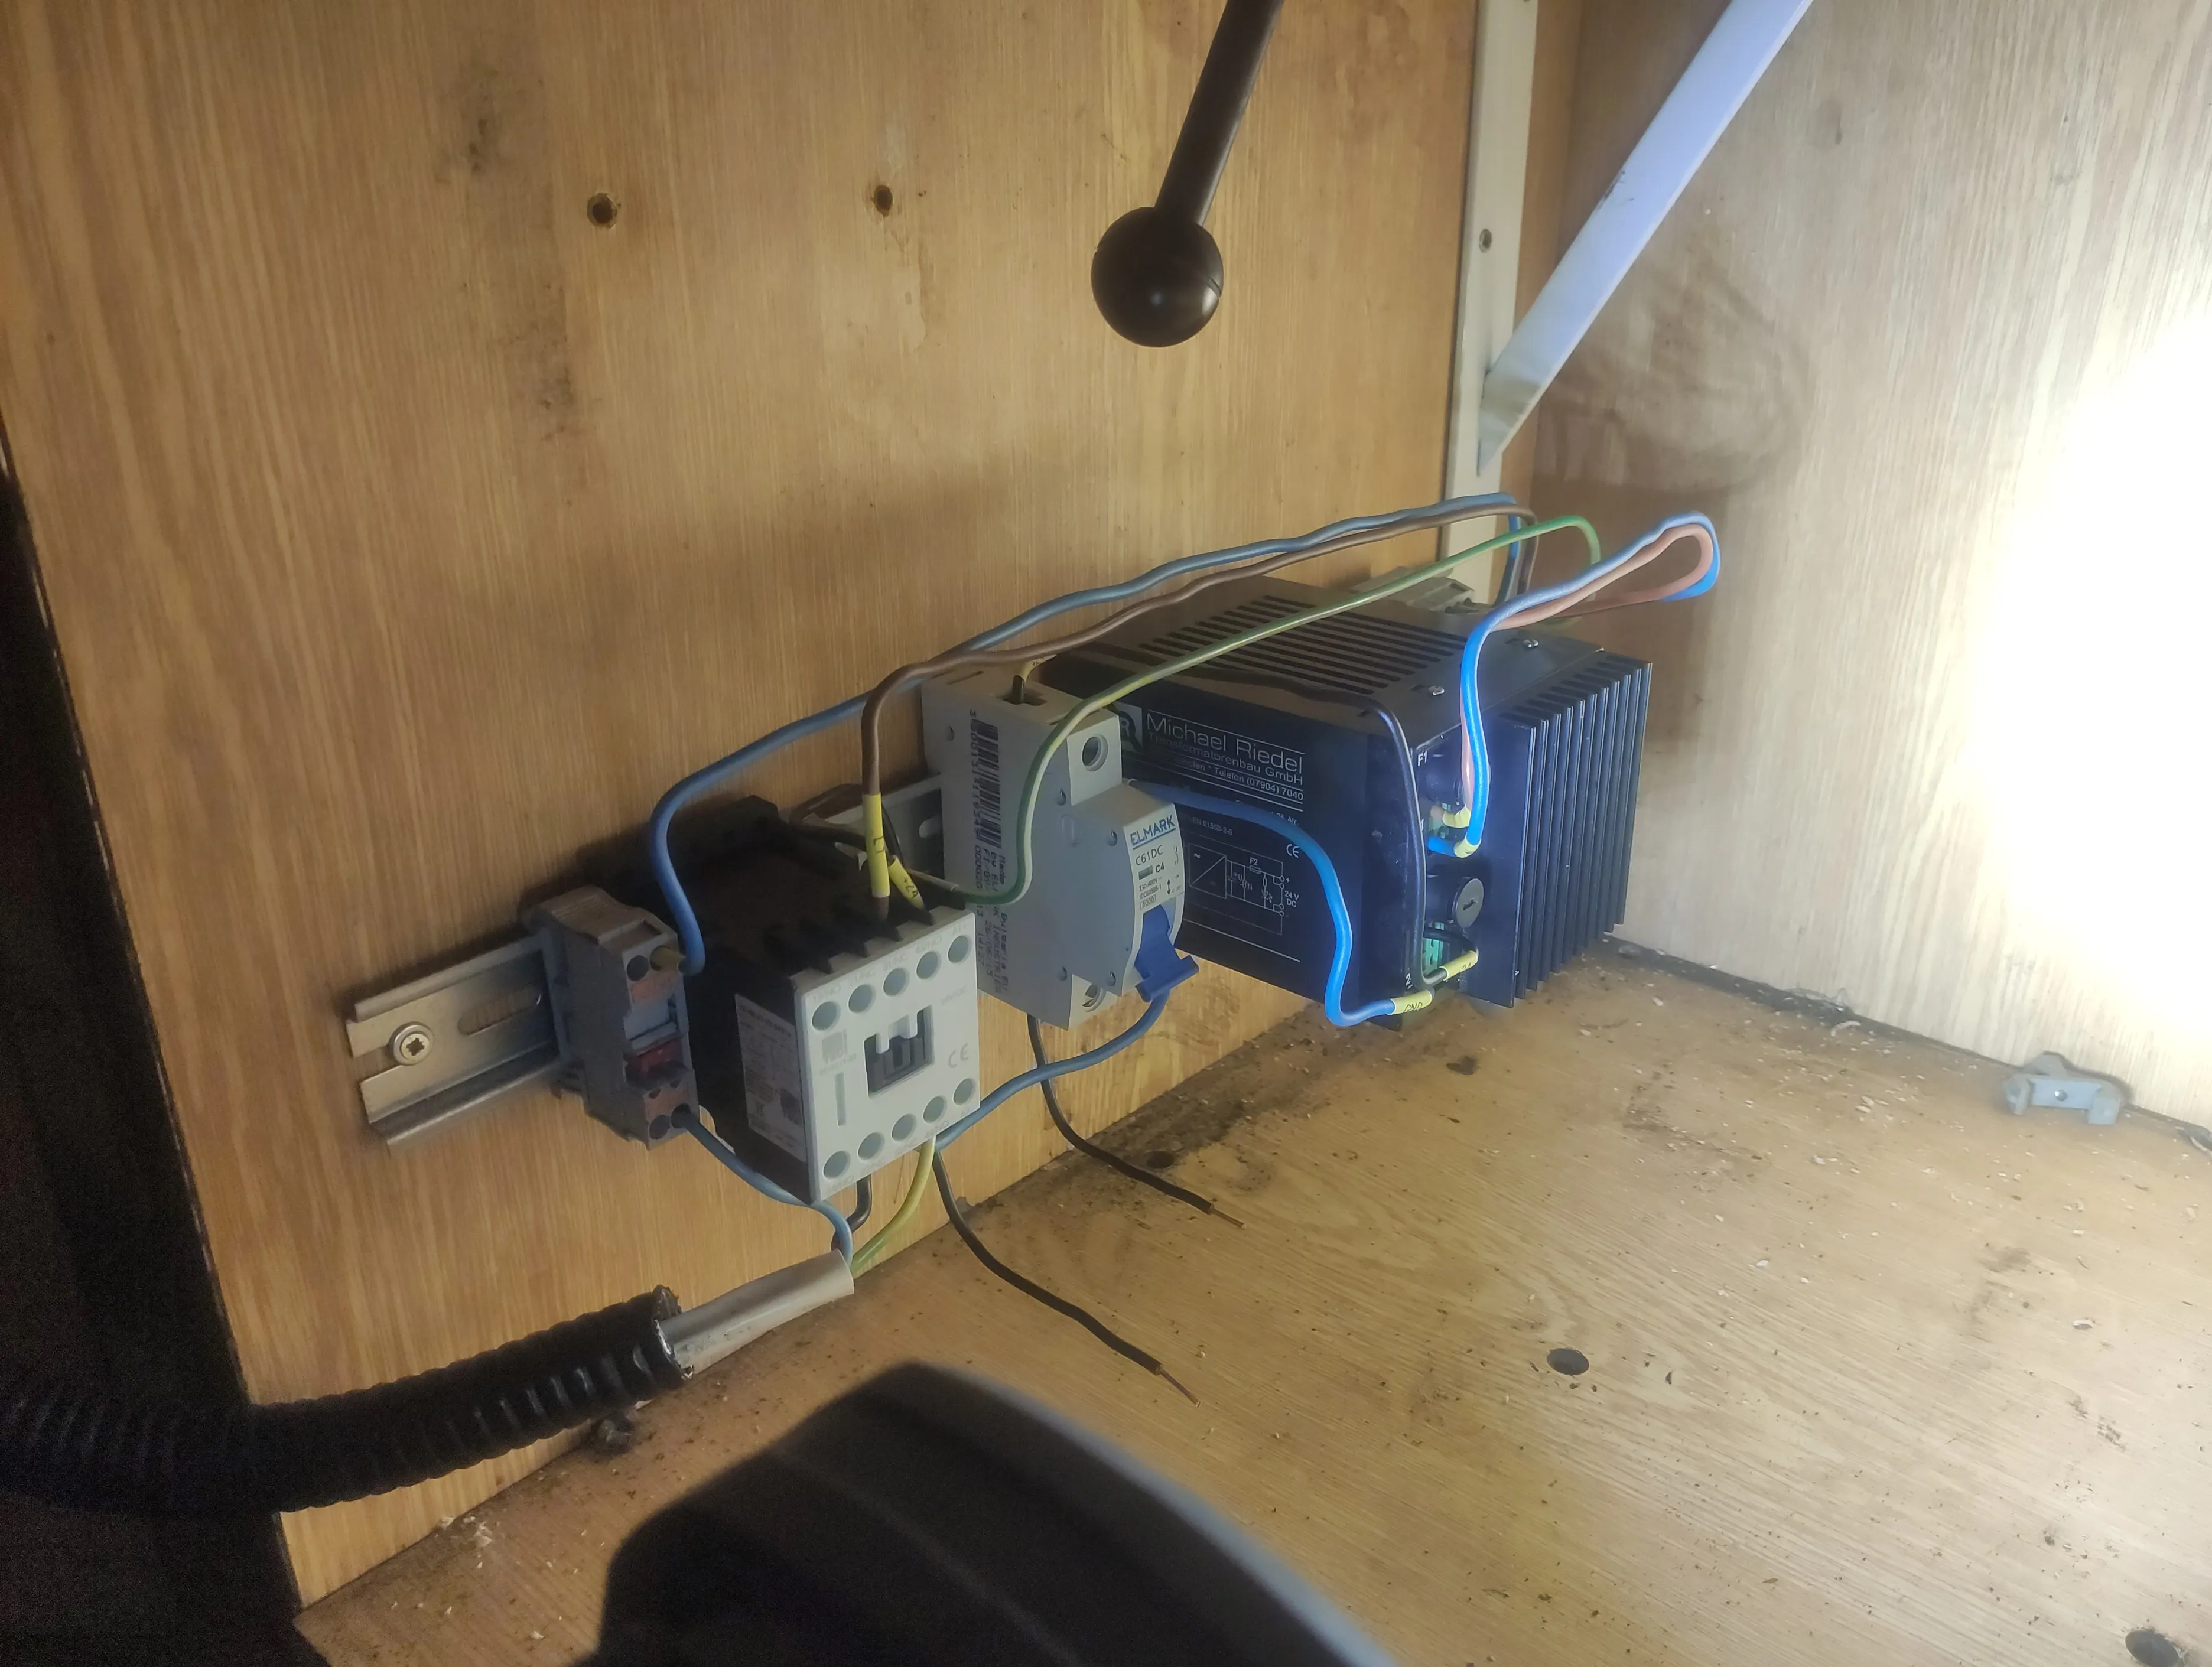
The emergency stop just cuts the power of the machine, which it does using a contactor. This way its easy to create a normally-open safety setup that can be extended with other switches; like a foot pedal or a detection switch for the cover. The first iteration of those e-stop electronics can be seen in the image below. The final solution has since improved.
Making a pen
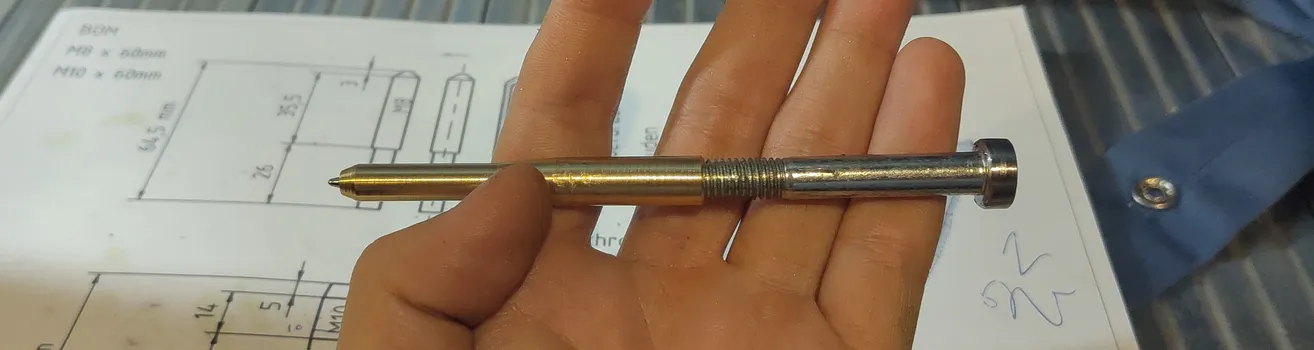
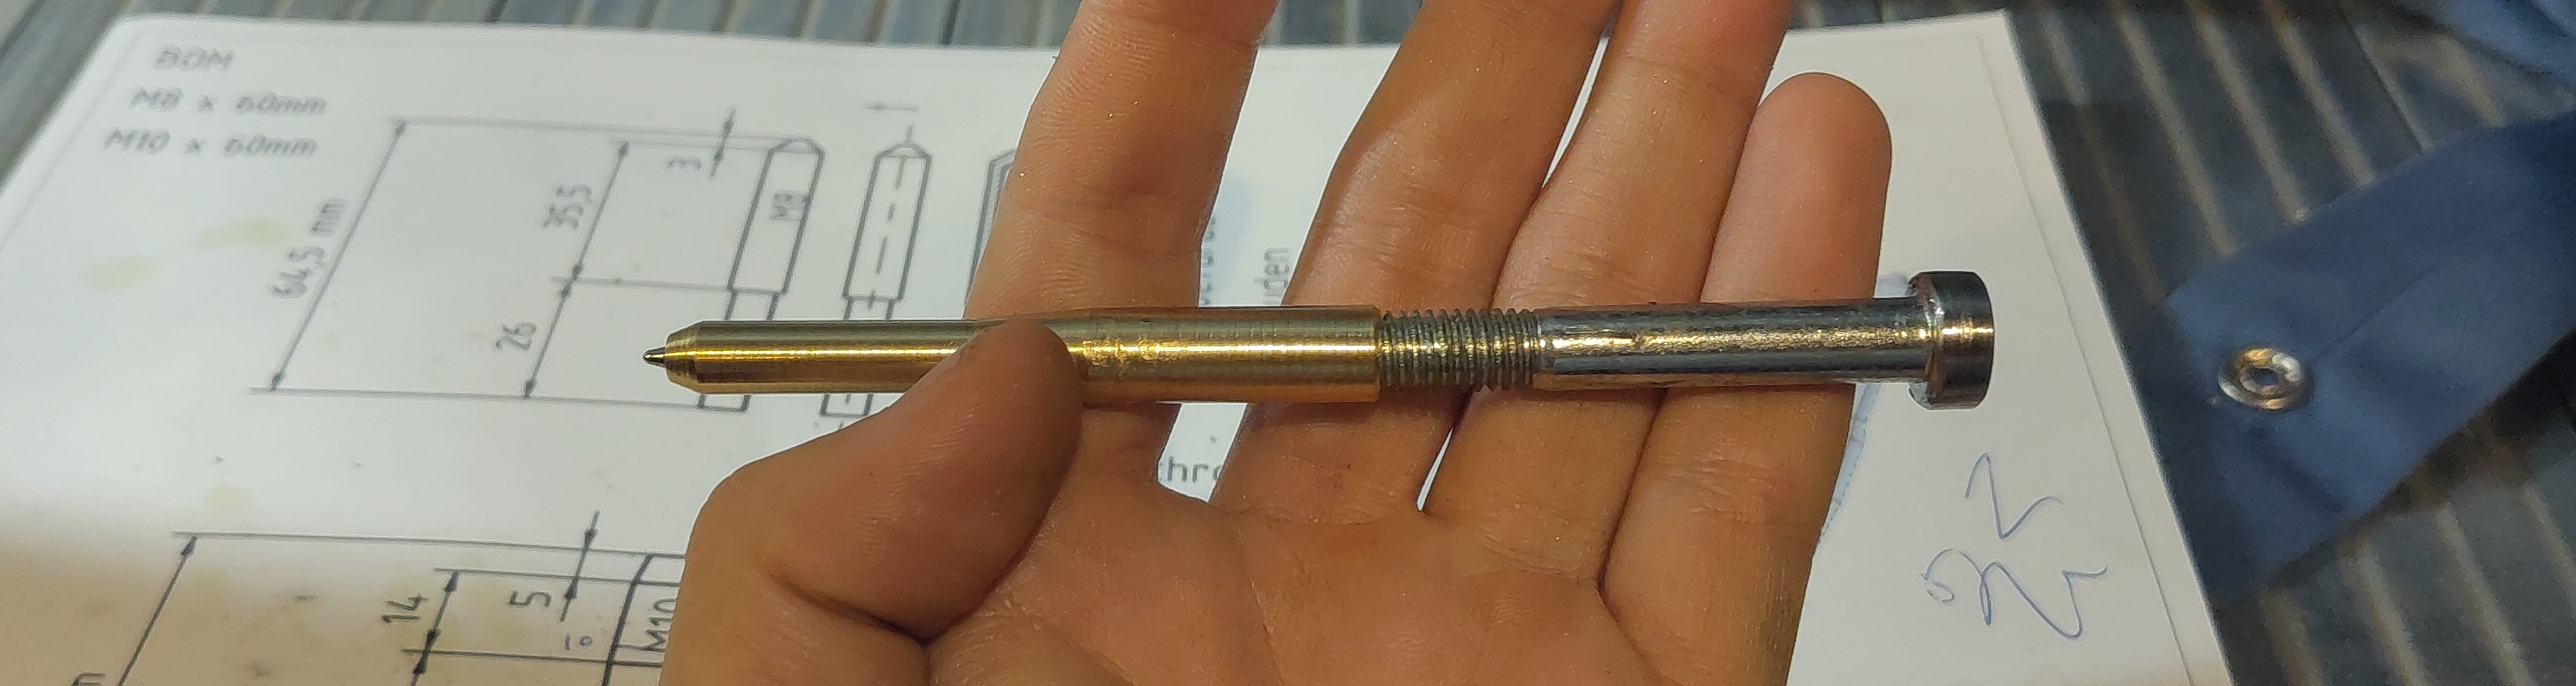
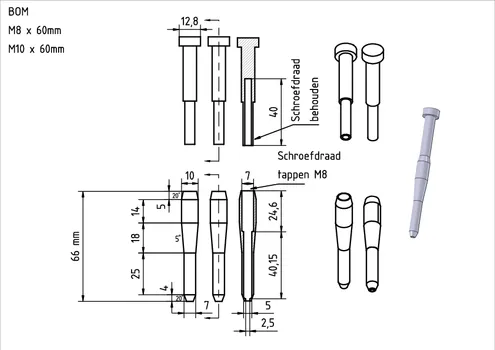
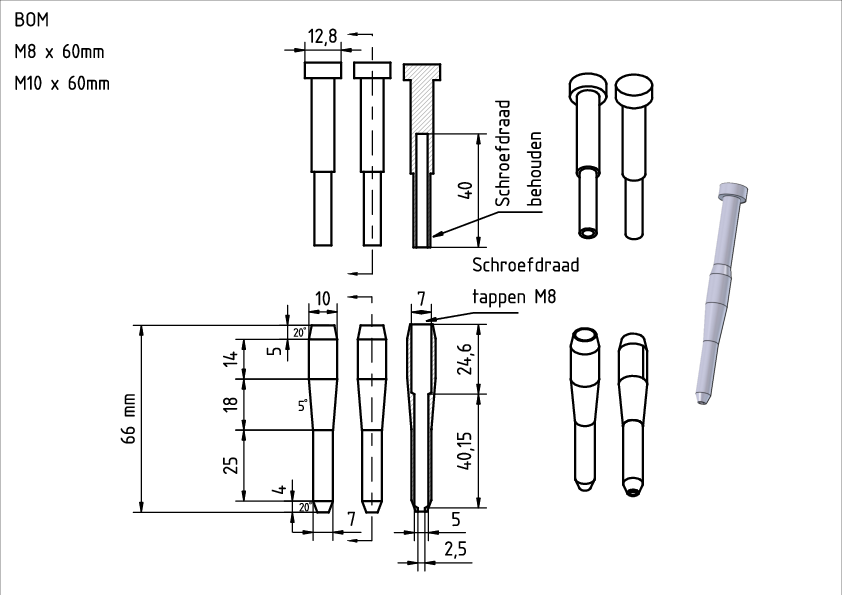
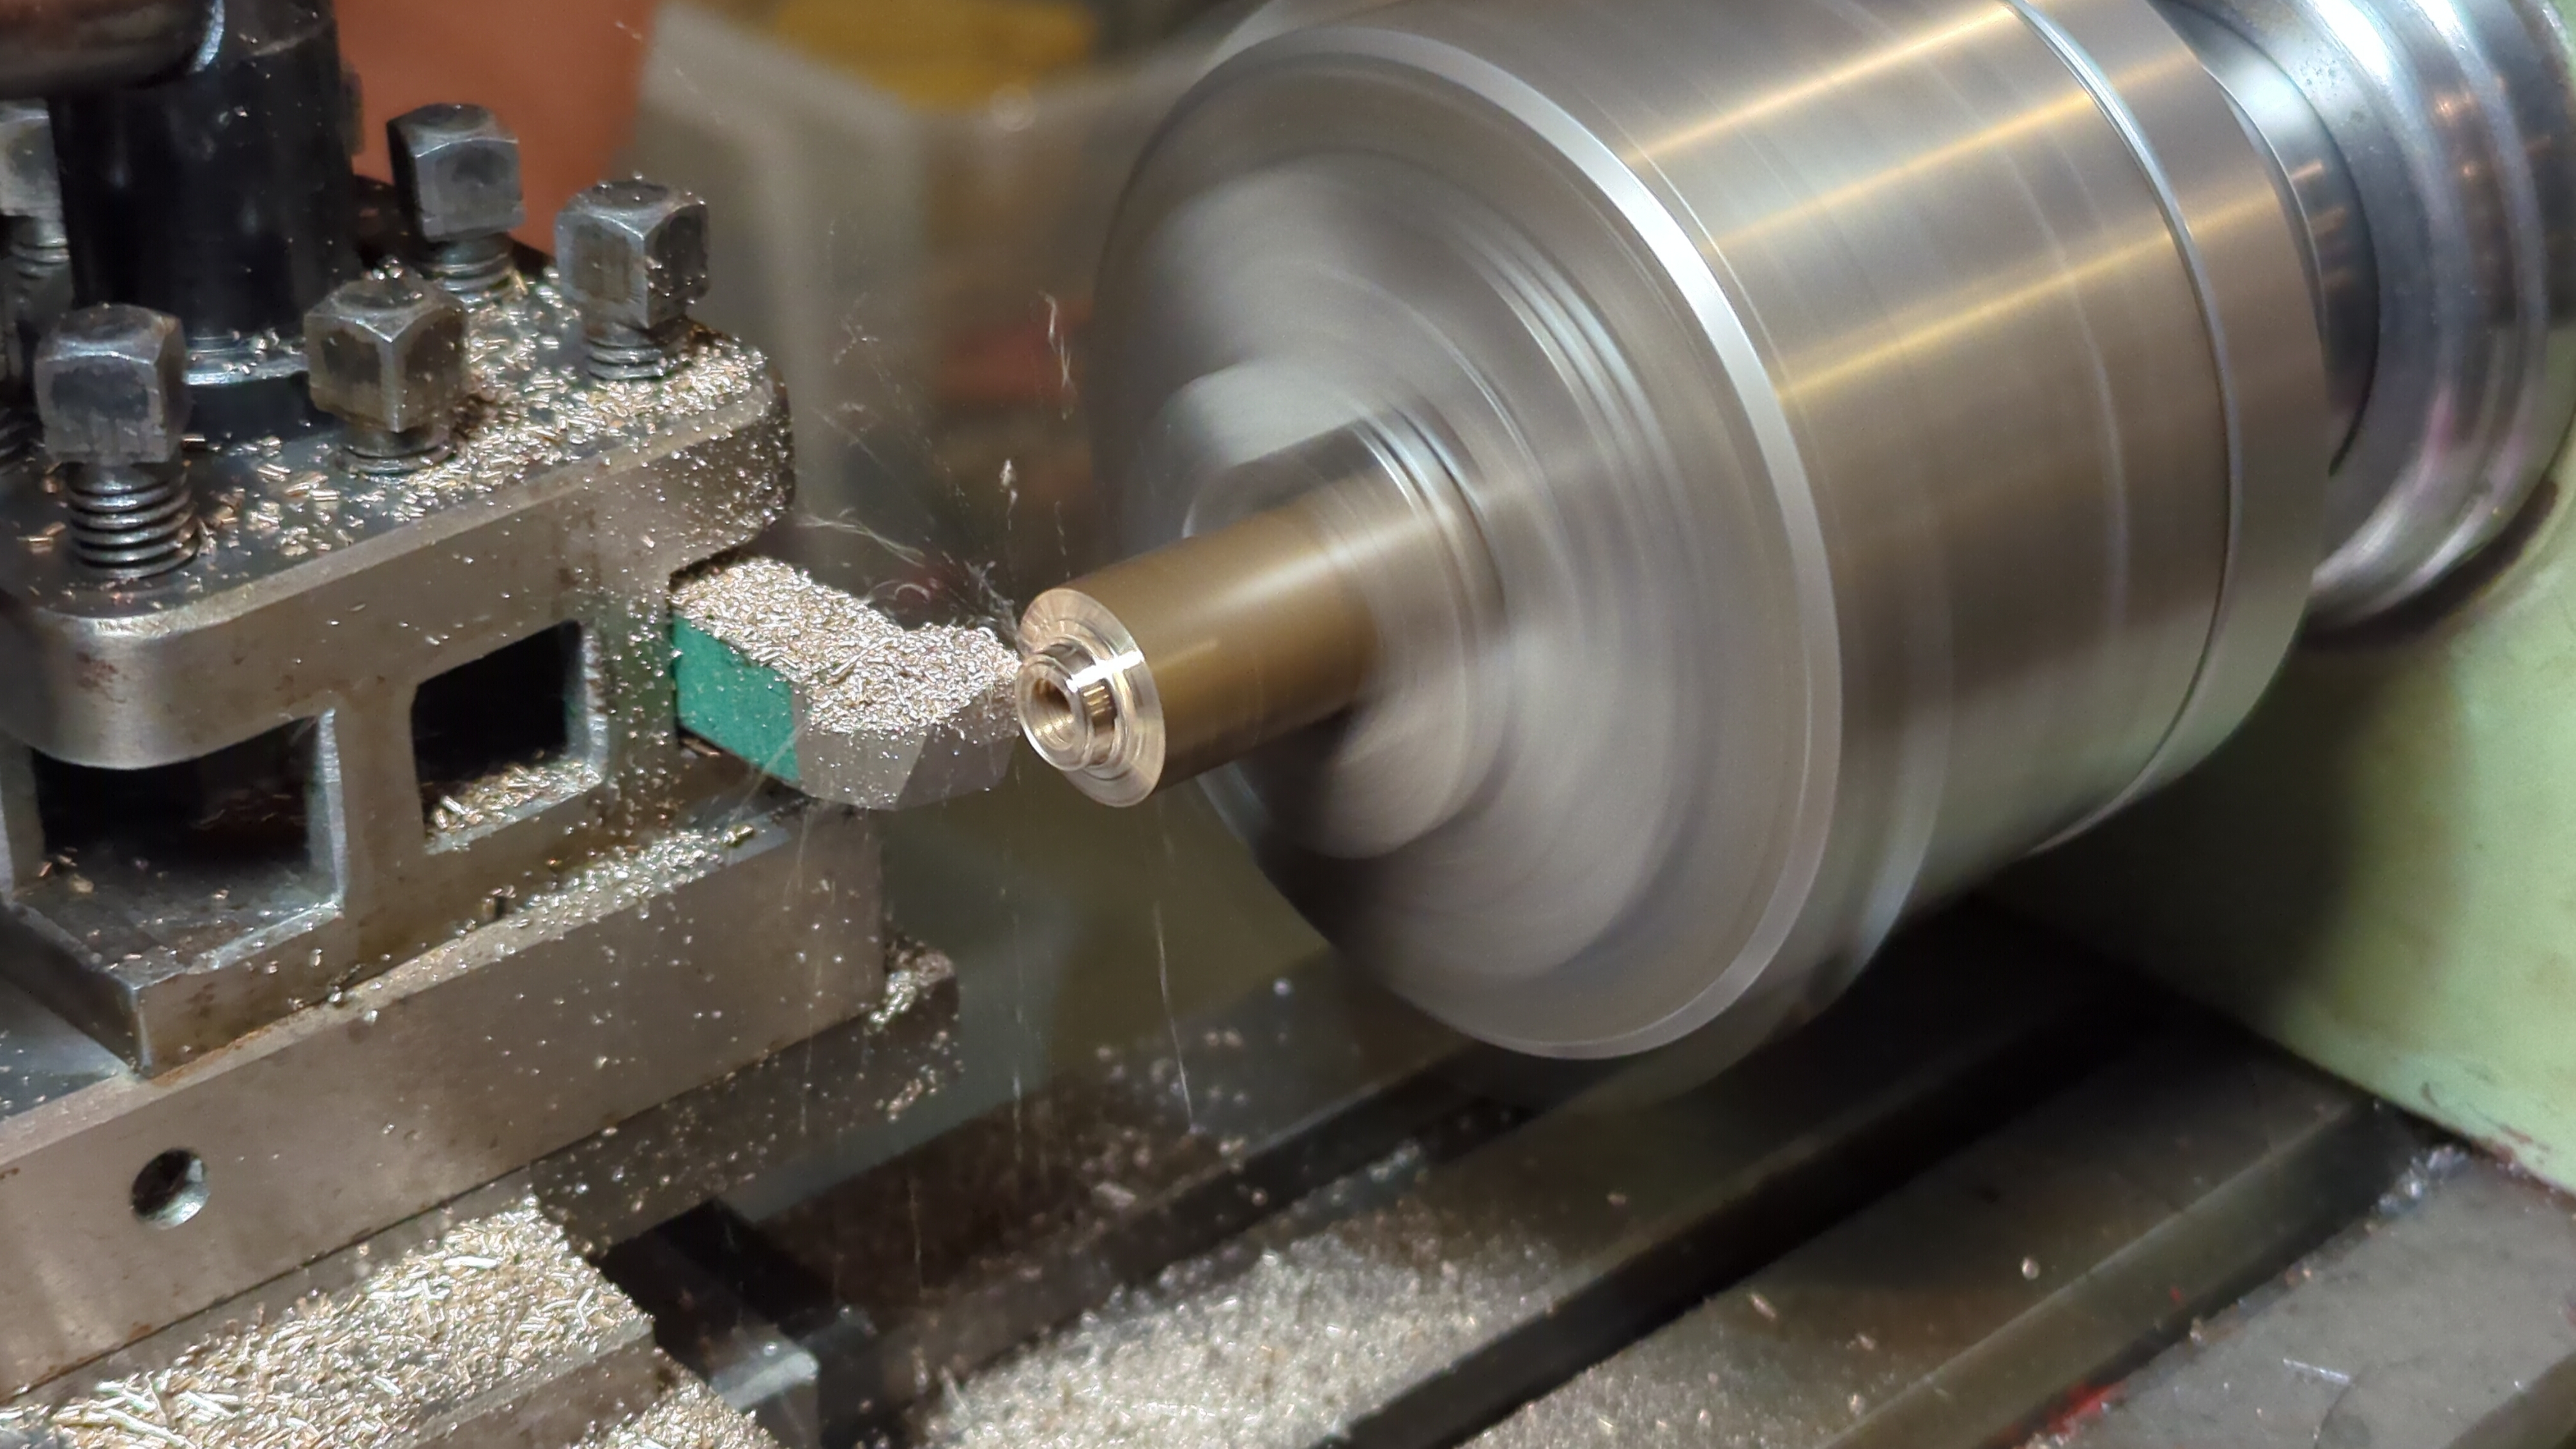
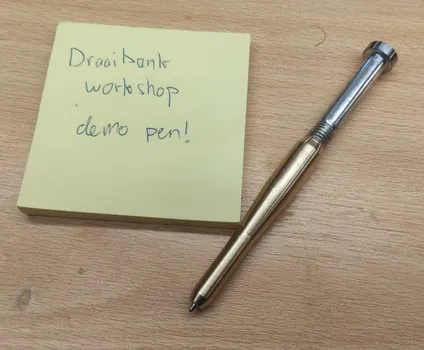
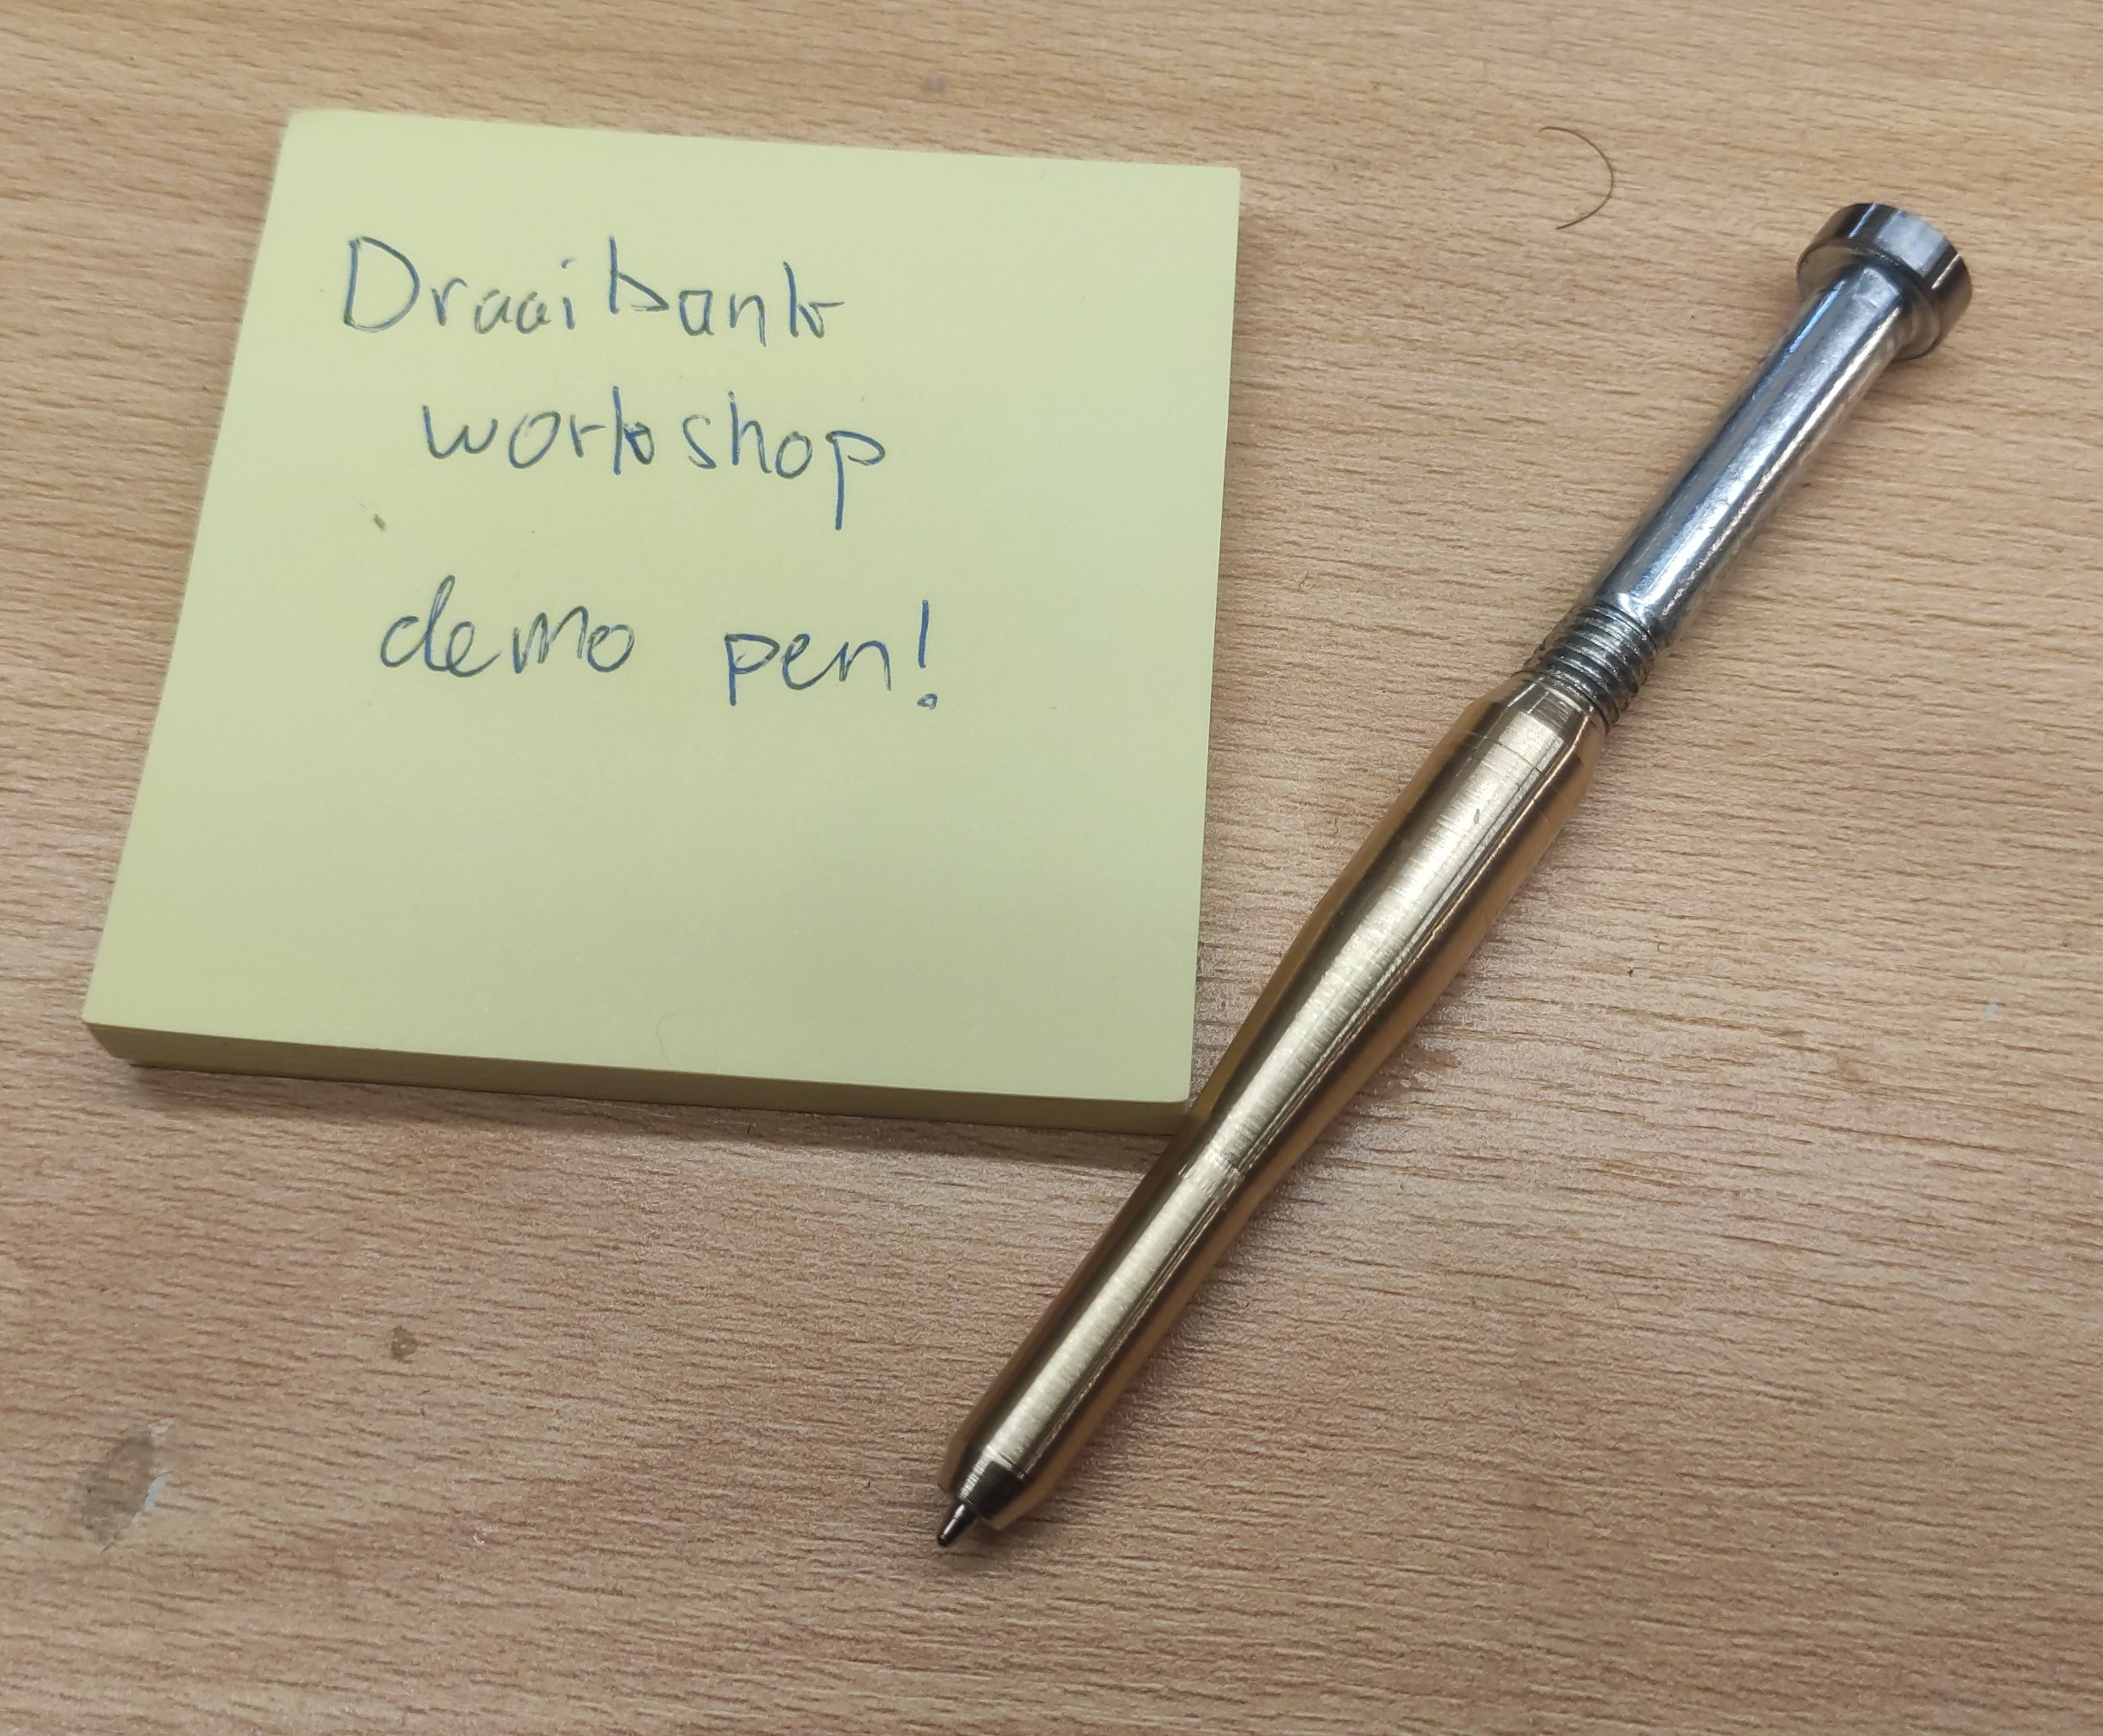
When the basic safety setup was complete and the absolute most basic maintenance was completed. I quickly drew a pen in FreeCAD, which was easily done. Creating a technical drawing in FreeCAD was very painful, it was fairly buggy and my laptop had a lot of performance issues for some reason. A pen is nice, because it contains lots of different features, and none of the measurements have tolerances that matter. It will still work as a pen if you’re a full millimeter off.
If you spot any mistakes or if you would like to contact me, visit the contact page for more details.